Whirlpool Cabrio Dryer Owners Manual: A Comprehensive Guide
This manual provides essential guidance for your Whirlpool Cabrio Dryer, covering installation, operation, maintenance, and troubleshooting for optimal performance and safety.
Welcome to the world of efficient and convenient laundry with your new Whirlpool Cabrio Dryer! This dryer is engineered with advanced features designed to deliver exceptional drying performance while simplifying your laundry routine. This manual serves as a comprehensive resource, guiding you through every aspect of your dryer’s operation, from initial setup to long-term maintenance.
The Whirlpool Cabrio Dryer boasts innovative technologies like moisture sensing and wrinkle shield options, ensuring your clothes are perfectly dried and ready to wear. Understanding these features and following the instructions within this manual will maximize your dryer’s efficiency and lifespan. Proper installation and regular maintenance, as detailed herein, are crucial for safe and reliable operation. We encourage you to read this manual thoroughly before using your new appliance.
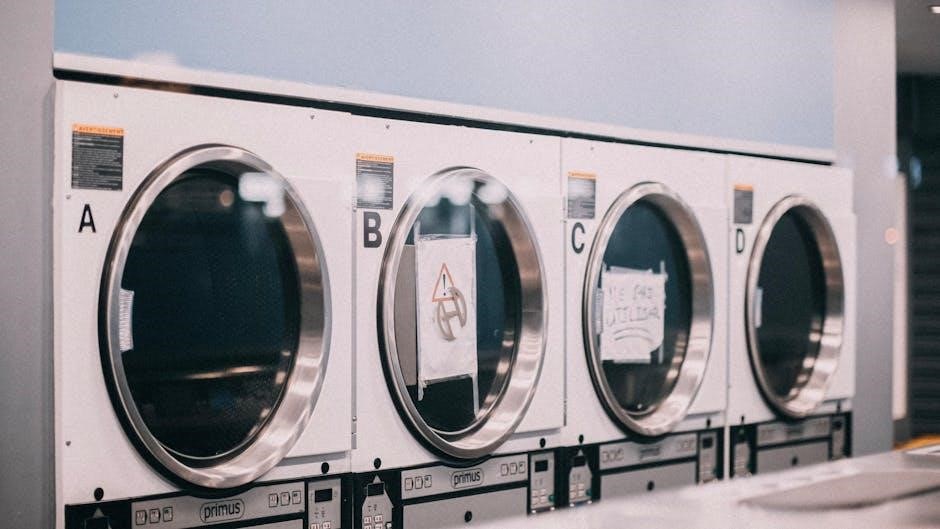
Understanding Your Dryer Model Number & Serial Plate
Locating your Whirlpool Cabrio Dryer’s model and serial number is essential for accurate support and warranty claims. This information is typically found on a plate located inside the dryer door frame, or on the back of the appliance. The model number identifies the specific features and specifications of your dryer, while the serial number is a unique identifier for your individual unit.
When contacting Whirlpool customer support or ordering replacement parts, having both numbers readily available will expedite the process. Record these numbers in a safe place for future reference. Understanding this information also helps ensure you are accessing the correct documentation and resources specific to your dryer model. Refer to the diagram within this manual for the exact location of the plate on your Cabrio dryer.
Safety Precautions & Warnings
Your safety is paramount when operating your Whirlpool Cabrio Dryer. Always disconnect the dryer from the power source before cleaning or performing maintenance. Never operate the dryer if it is damaged or malfunctioning. Ensure proper ventilation to prevent fire hazards – regularly clean the lint filter before each load and the dryer vent annually.
Do not dry items that have been soaked in flammable liquids, such as gasoline or cleaning solvents. Keep the surrounding area clear of combustible materials. Supervise children when they are near the dryer. Gas dryers require specific safety measures; see the dedicated section for gas leak detection procedures. Failure to follow these warnings could result in fire, explosion, or personal injury.
Installation Instructions
Proper installation is crucial for safe and efficient operation of your Whirlpool Cabrio Dryer. Before beginning, ensure you have all necessary tools and materials. The dryer should be placed on a level surface, allowing adequate clearance for ventilation. Connect the dryer to a properly grounded electrical outlet (for electric models) or a gas supply line (for gas models) adhering to local codes.
It is recommended to install a manual gas shut-off valve within six feet of the dryer if applicable. Carefully follow the specific instructions for either gas or electric dryer installation, detailed in the following sections. Improper installation can lead to malfunctions, safety hazards, or void the warranty.
Gas Dryer Specific Installation
Gas dryer installation requires strict adherence to safety guidelines. First, ensure the gas supply is turned off. Connect a new, flexible gas supply line to the dryer and the gas outlet, using pipe joint compound approved for gas lines. Crucially, check all connections for leaks using a soap and water solution – bubbles indicate a leak.
A manual shut-off valve within six feet of the dryer is essential for emergencies. Verify proper ventilation with a dedicated vent pipe to the outside. Never use an existing vent for another appliance. Confirm the dryer is level and securely positioned before operating. Improper gas connections can be extremely dangerous.
Electric Dryer Specific Installation
Electric dryer installation demands careful attention to electrical safety. Before beginning, completely disconnect power at the breaker box. The dryer must be connected to a dedicated 240-volt electrical circuit, grounded according to local codes. Do not use extension cords or adapters.
A three-prong grounding plug is vital for safety; never remove the grounding pin. Ensure the wire gauge is appropriate for the circuit’s amperage. Verify proper ventilation with a dedicated vent pipe leading outdoors. Confirm the dryer is level and stable. Incorrect electrical connections pose a significant fire hazard. Always consult a qualified electrician if unsure about any aspect of the installation.

Operating Instructions
Familiarize yourself with your Whirlpool Cabrio Dryer’s controls for efficient operation. Begin by sorting laundry appropriately. Open the dryer door and load items, avoiding overpacking to ensure proper tumbling and drying. Close the door securely.
Select the desired drying cycle based on fabric type – options include delicate, normal, bulky, and timed dry. Utilize available features like moisture sensing for optimal dryness and wrinkle shield to minimize creases. Press the start button to initiate the cycle. Monitor the dryer during operation and promptly remove items once the cycle completes.

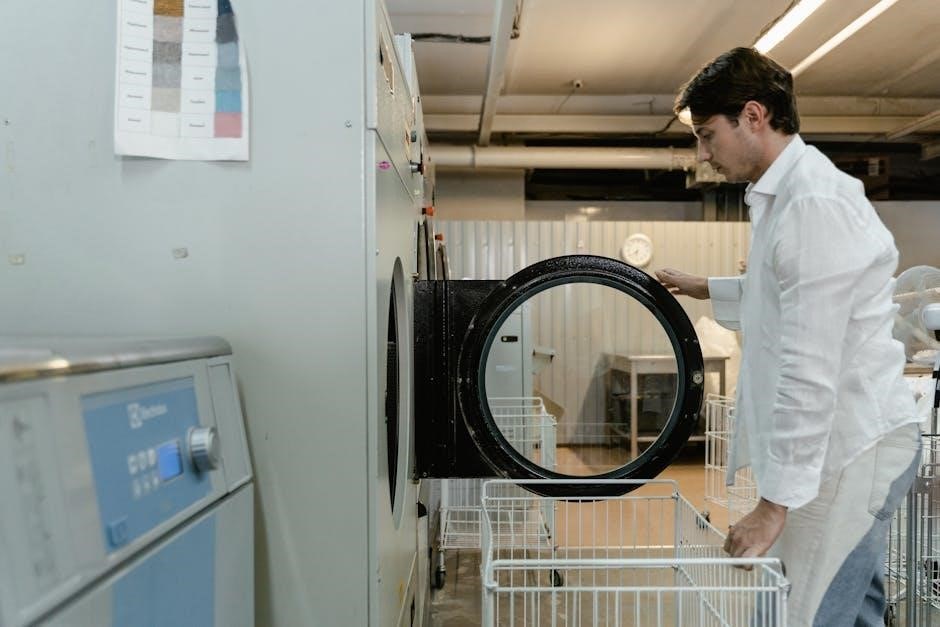
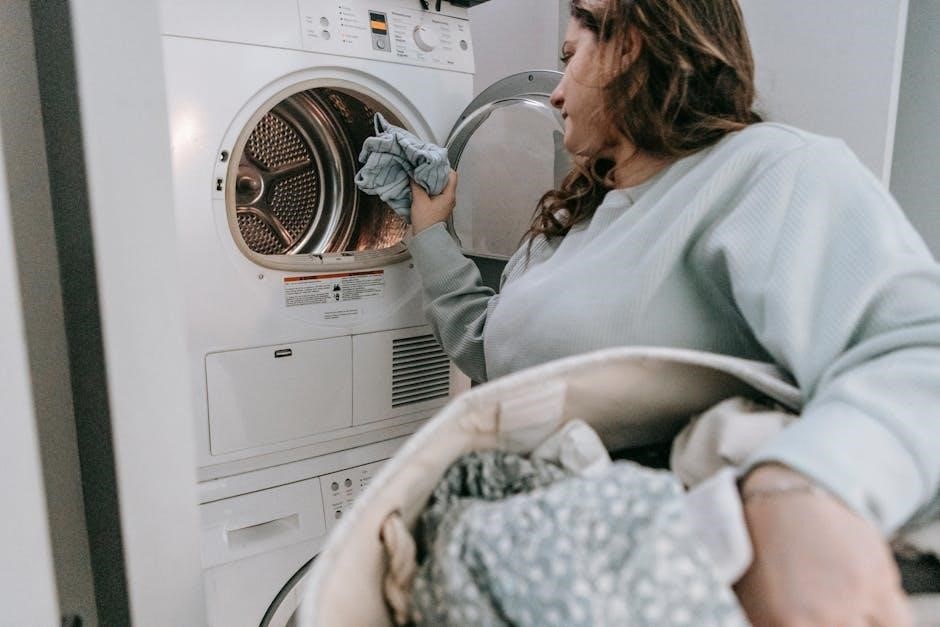
Loading and Unloading the Dryer
Proper loading ensures efficient drying and prevents damage to clothes. Open the dryer door fully and load items loosely, avoiding overcrowding. Distribute the load evenly around the drum to allow for unrestricted tumbling. Do not attempt to dry items containing flammable substances like gasoline or cleaning fluids.

Upon cycle completion, carefully remove clothes, checking for any remaining moisture. Promptly unload to prevent wrinkling. Clean the lint filter after each load – a crucial step for safety and performance. Inspect pockets for forgotten items before loading. Always close the dryer door when not in use.
Selecting the Right Drying Cycle
Your Whirlpool Cabrio dryer offers a variety of cycles tailored to different fabric types. Utilize the “Automatic” cycles for everyday loads – the dryer senses moisture levels and adjusts drying time. For delicate items, choose “Delicates” or “Air Fluff” to minimize heat exposure. Bulky items like comforters require the “Bulky/Sheets” cycle.
Consider fabric content when selecting a cycle. Cotton, synthetics, and permanent press each benefit from specific temperature settings. Refer to garment care labels for guidance. The “Timed Dry” option allows manual setting of drying time. Experiment to find the optimal cycle for your laundry needs, ensuring effective drying and fabric care.
Using Dryer Options & Features (e.g., Moisture Sensing, Wrinkle Shield)
The Whirlpool Cabrio dryer boasts features enhancing convenience and fabric care. Moisture sensing technology automatically stops the cycle when clothes are dry, preventing over-drying and saving energy. “Wrinkle Shield” periodically tumbles clothes without heat after the cycle ends, minimizing wrinkles for up to 60 minutes – ideal if you can’t immediately remove laundry.
Explore other options like “Control Lock” to disable controls, preventing accidental changes. Utilize the “Sanitize” cycle for enhanced germ removal. Familiarize yourself with these features to customize drying performance and achieve optimal results for various fabric types and laundry needs, maximizing the dryer’s capabilities.
Care and Maintenance
Regular maintenance ensures your Whirlpool Cabrio dryer operates safely and efficiently. Prioritize cleaning the lint filter after every load to maintain proper airflow and prevent fire hazards. Periodically clean the dryer drum with a damp cloth to remove residue buildup, preserving its performance.
Crucially, annual vent cleaning is essential. A clogged vent restricts airflow, increasing drying time and posing a significant fire risk. Disconnect the dryer before cleaning the vent. Following these simple steps will extend the life of your dryer, maintain optimal performance, and safeguard your home. Consistent care is key!
Cleaning the Lint Filter – Importance & Procedure
The lint filter is critical for dryer safety and efficiency. A clogged filter restricts airflow, causing longer drying times, increased energy consumption, and potentially a fire hazard. Clean the lint filter after every single load.
Procedure: Locate the lint filter, usually inside the dryer drum near the door. Pull the filter straight up and remove any accumulated lint. Use your fingers or a soft brush to ensure all lint is removed. Replace the filter securely. Regularly inspect the lint filter housing for any lint buildup and clean as needed. This simple step significantly improves dryer performance and safety.
Cleaning the Dryer Drum
Maintaining a clean dryer drum ensures optimal performance and prevents residue transfer to your clothes. Over time, fabric softener, detergent buildup, and mineral deposits can accumulate inside the drum. Clean the drum monthly, or more frequently if needed.

Procedure: Use a damp cloth with warm water and a mild detergent. Gently wipe down the interior of the drum, paying attention to any visible residue. For stubborn buildup, create a solution of equal parts white vinegar and water. Apply, let sit for a few minutes, then wipe clean. Always ensure the drum is completely dry before using the dryer again. Avoid abrasive cleaners, as they can damage the drum’s finish.
Vent Cleaning – Preventing Fires & Improving Efficiency
Regular vent cleaning is crucial for dryer safety and performance. Lint accumulation in the vent restricts airflow, causing the dryer to work harder, increasing energy consumption, and posing a significant fire hazard. Clean the vent system at least annually, or more often with heavy dryer use.
Procedure: Disconnect the dryer from power. Locate and detach the vent hose from both the dryer and the wall. Use a vent cleaning brush kit to remove lint buildup throughout the entire vent length. Vacuum the loosened lint from both ends. Ensure the exterior vent opening is clear of obstructions like bird nests or debris. Reconnect the vent hose securely. A clear vent improves drying times and reduces fire risk.
Troubleshooting Common Issues
Encountering problems with your Whirlpool Cabrio Dryer? This section addresses frequent issues and offers solutions. If the dryer doesn’t start, verify the power cord is securely plugged in and the door is properly latched. Check your home’s circuit breaker or fuse box. For no-heat situations, ensure the gas supply (for gas dryers) is on, or check the electric dryer’s heating element.
Unusual noises often indicate a foreign object in the drum or a worn-out component. Inspect the drum and lint trap. If problems persist, consult the detailed troubleshooting guide within this manual or contact Whirlpool customer support for assistance. Always disconnect power before attempting any repairs.
Dryer Not Starting
If your Whirlpool Cabrio Dryer fails to start, begin with the simplest checks. First, confirm the power cord is firmly plugged into a functioning electrical outlet. Next, verify the dryer door is completely closed and securely latched; the dryer won’t operate if the door switch isn’t engaged.
Check your home’s circuit breaker or fuse box to ensure the dryer’s circuit hasn’t tripped or blown. Reset the breaker if necessary. If the issue continues, inspect the control panel for any error codes displayed, referencing the manual for their meaning. For gas dryers, ensure the gas supply valve is open. If problems persist, contact a qualified technician.
Dryer Not Heating
If your Whirlpool Cabrio Dryer isn’t heating, several potential issues could be the cause. Initially, verify the dryer isn’t in an air-fluff or no-heat cycle – these cycles intentionally don’t generate heat. Next, check the lint filter; a clogged filter restricts airflow and can trigger a safety shutoff. Ensure the exhaust vent is clear of obstructions, as restricted venting also causes overheating and shutdown.
For gas dryers, confirm the gas supply is connected and the valve is open. If the problem persists, a faulty heating element (electric dryers) or gas igniter (gas dryers) may be the culprit, requiring professional replacement. Always disconnect power before inspecting internal components.
Dryer Making Unusual Noises
Unusual noises from your Whirlpool Cabrio Dryer can indicate various issues. A squealing sound often points to worn drum support rollers or a worn belt, requiring replacement. Thumping noises frequently stem from items trapped inside the drum, like coins or buttons – thoroughly check the drum and lint trap. Grinding sounds could signify a failing motor bearing or a problem with the blower wheel.
If the noise is rhythmic, it might be the drive belt slipping; Always disconnect power before attempting any internal inspection. For persistent or loud noises, it’s best to contact a qualified appliance repair technician to diagnose and resolve the problem safely and effectively.
Parts Diagram & Replacement
Locating replacement parts for your Whirlpool Cabrio Dryer is crucial for maintaining its functionality. Detailed parts diagrams are available on the Whirlpool website, showcasing exploded views of the dryer’s components – including the drum, heating element, belts, and control panel. These diagrams help identify the correct part number for your specific model.
Genuine Whirlpool replacement parts are recommended to ensure compatibility and performance. Parts can be ordered directly from Whirlpool’s online parts store or through authorized retailers. Always disconnect the power before attempting any repairs or part replacements. If you’re uncomfortable with DIY repairs, consult a qualified appliance technician.
Warranty Information
Your Whirlpool Cabrio Dryer is covered by a limited warranty, protecting against defects in materials and workmanship. The standard warranty period typically begins on the date of original purchase. Coverage details vary depending on the specific model and region, so carefully review your warranty documentation.
The warranty generally covers parts and labor for one year. Extended warranties may be available for purchase, offering additional protection beyond the standard coverage; To make a warranty claim, you’ll need proof of purchase and a detailed description of the issue. Contact Whirlpool customer support or visit their website for claim submission instructions. Keep your warranty information in a safe place.
Contacting Whirlpool Customer Support
For assistance with your Whirlpool Cabrio Dryer, several support options are readily available. You can reach Whirlpool customer support through their official website, which features a comprehensive FAQ section and troubleshooting guides. A dedicated phone line is also provided for direct assistance with a knowledgeable representative. Expect potential wait times during peak hours.
Online chat support offers a convenient way to resolve issues quickly. When contacting support, have your dryer’s model number and serial number readily available for efficient service. Whirlpool’s website also provides access to parts diagrams and replacement options. Social media channels may offer limited support, but are useful for general inquiries.
Gas Dryer Specific Safety – Gas Leak Detection
Safety is paramount when operating a gas dryer. Regularly inspect the gas supply line for any signs of damage or wear. If you suspect a gas leak, immediately shut off the gas supply at the manual shutoff valve – ideally located within six feet of the dryer. Do not operate any electrical switches or devices, as this could ignite the gas.
Ventilate the area thoroughly by opening windows and doors. Never use an open flame to search for a leak. Employ a gas leak detector or a solution of soapy water applied to the connections; bubbles indicate a leak. Contact your gas company or a qualified technician for professional inspection and repair. Ignoring a gas leak poses a severe safety hazard.